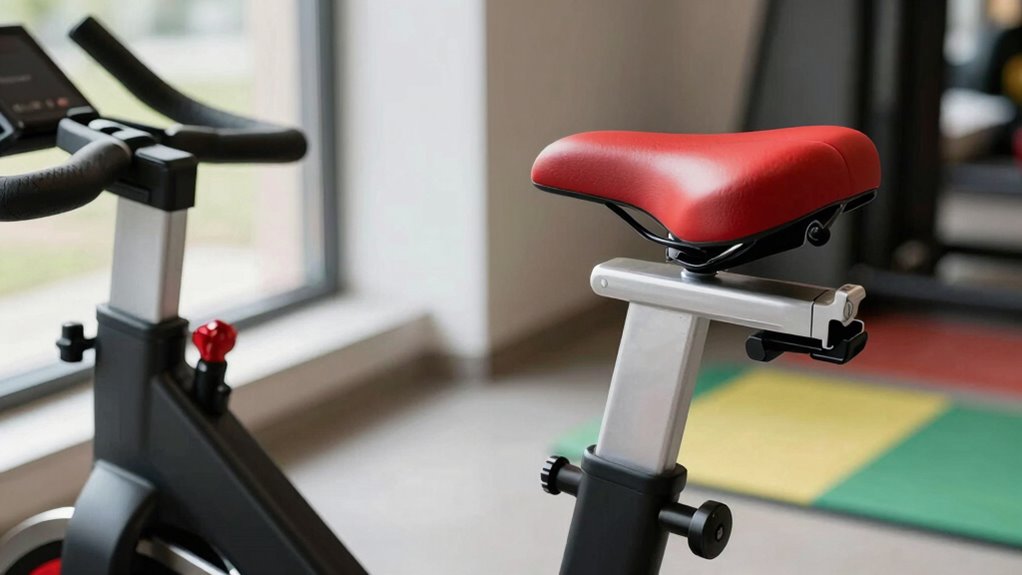
To ease your indoor cycling hip pain, start by adjusting your seat height. Make sure your saddle is set so that at the bottom of your pedal stroke, your knee is nearly fully extended without locking. Check your saddle position side to side and tilt it slightly if needed to reduce pinching. Small tweaks can make a big difference, and if discomfort persists, you’ll find more tips below to fine-tune your setup for comfortable rides.

Get workout gear delivered free — and shop member deals
- Fast, free delivery on millions of items
- Access to Prime Big Deal Days deals on October 6–7
- Prime Video, Amazon Music and more included
Key Takeaways
- Ensure saddle height allows a nearly full knee extension at the bottom of the pedal stroke without overextending.
- Adjust saddle forward or backward to align your hips properly and prevent overreach or pinching.
- Maintain a moderate cadence (80-100 RPM) to distribute effort evenly and reduce hip strain.
- Fine-tune saddle height to stabilize hips and minimize wobbling or excessive movement.
- Check for discomfort and hip pinching; small saddle adjustments can significantly improve comfort.
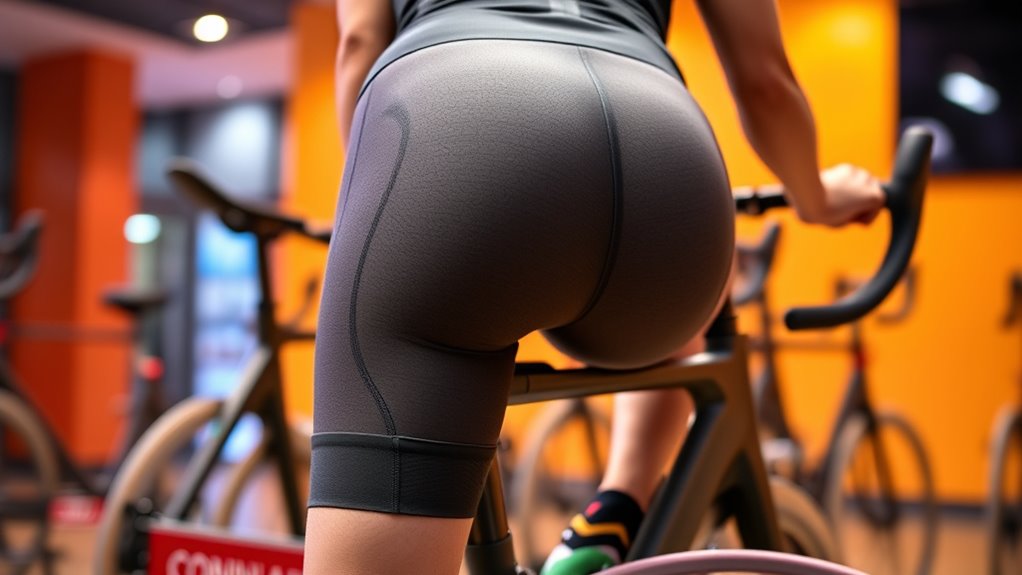
Indoor cycling is a popular and effective way to stay fit, but many riders experience hip pain that can disrupt their workouts. One of the first things to check is your pedal cadence. Riding with a cadence that’s too high or too low can put unnecessary strain on your hips. Ideally, aim for a cadence of about 80 to 100 revolutions per minute. When you pedal too quickly, your hips might become unstable, and your muscles could overcompensate, leading to discomfort. Conversely, pedaling too slowly can cause excessive pressure on your hip joints. Finding that sweet spot helps distribute effort evenly, reducing the likelihood of pain.
Another critical factor is saddle height. An improperly adjusted saddle can cause you to overreach or be too cramped, both of which stress your hips. If your saddle is too low, you’ll have to overextend your legs, forcing your hips to work harder and possibly leading to pinching or soreness. Conversely, if it’s too high, your hips may sway or wobble as you pedal, which also causes strain. To find the right saddle height, position yourself on the bike and set the saddle so that when your foot is at the bottom of the pedal stroke, your knee is almost fully extended but not locked. This position ensures your hips stay stable and reduces unnecessary movement that could cause discomfort.
Adjusting saddle height is often a straightforward fix, but it’s equally important to consider your pedal cadence. Think of these two adjustments as a duo that can considerably improve your riding comfort. You might find that lowering your saddle slightly and maintaining a steady, moderate cadence reduces hip pinching. Also, pay attention to how your hips feel during different cadences; if you notice pain increasing with higher or lower cadences, it’s a sign you need to tweak your setup.
As an affiliate, we earn on qualifying purchases.
Frequently Asked Questions
Can Improper Footwear Cause Indoor Cycling Hip Pain?
Yes, improper cycling footwear can cause indoor cycling hip pain. If your cycling footwear doesn’t provide proper foot support, it can lead to misalignment and strain on your hips. Tight or ill-fitting shoes may also restrict movement, increasing discomfort. Make sure you wear well-fitted cycling shoes with adequate foot support to help maintain proper alignment and reduce hip pain during your rides.
How Long Does It Typically Take to See Improvement After Seat Adjustments?
You’ll usually notice improvement within a few rides, but the recovery timeline varies depending on how effective your adjustments are. If you feel less hip pain and your posture feels more comfortable, your seat tweaks are working. Keep track of your comfort level and make small adjustments if needed. Typically, consistent efforts over a week or two lead to significant relief, but listen to your body for the best results.
Are There Specific Stretches to Prevent Cycling-Related Hip Pain?
Think of your hips as a garden that needs nurturing. Incorporate stretches like hip flexor stretches, pigeon pose, and seated forward bends to boost hip flexibility. These stretches act as the water and sunlight for your garden, encouraging healthy growth. Additionally, engage in glute activation exercises like bridges and clamshells to strengthen your hips. Consistent practice keeps your hips flexible and resilient, helping prevent cycling-related pain.
Should I See a Doctor if Pain Persists After Seat Tweaks?
If your hip pain persists after seat tweaks, you should see a doctor for a medical consultation. Continuing to cycle through pain can worsen injuries or mask underlying issues. A healthcare professional can accurately diagnose the cause of your hip pain and recommend appropriate treatment. Don’t ignore ongoing discomfort—getting professional advice helps guarantee you recover safely and return to cycling comfortably.
Can Muscle Imbalances Contribute to Cycling Hip Discomfort?
Yes, muscle imbalances can contribute to cycling hip discomfort. When certain muscles are weaker or tighter, they create biomechanical issues that strain your hips during rides. This imbalance can lead to improper movement patterns, increasing pain. To address this, focus on strengthening weak muscles and stretching tight ones. Incorporating targeted exercises can help correct these imbalances, easing your hip discomfort and improving your cycling performance.
adjustable bike seat for indoor cycling
As an affiliate, we earn on qualifying purchases.
As an affiliate, we earn on qualifying purchases.
Conclusion
By tweaking your seat position, you hold the power to transform your indoor cycling experience and banish hip pain. Don’t let discomfort keep you from pedaling your way to better health—think of each adjustment as a key releasing smoother, pain-free rides. Remember, your body is your greatest guide; listen to it, and make those small changes. After all, isn’t the joy of cycling worth every tweak and turn? Keep riding, keep thriving.
As an affiliate, we earn on qualifying purchases.
As an affiliate, we earn on qualifying purchases.
Fall Picks
fall essentials
As an affiliate, we earn on qualifying purchases.