
If your hip flexors feel tight, a simple mobility sequence can help loosen them and improve movement. Start with a gentle lunge, keeping your hips square and engaging your core, holding for 20-30 seconds on each side. Follow with a kneeling hip flexor stretch, and move slowly into each position, breathing deeply. Consistently doing these stretches can reduce discomfort, prevent injury, and boost flexibility. Keep engaging in this routine, and you’ll discover more effective ways to stay mobile.
Key Takeaways
- Incorporate daily hip flexor stretches like lunges and kneeling hip openers to improve flexibility.
- Hold each stretch for 20-30 seconds with steady breathing to maximize effectiveness.
- Maintain proper form, keeping hips square and engaging core during stretches.
- Combine stretching with strengthening exercises to balance hip mobility and stability.
- Consistency in routine helps reduce tightness and enhances long-term hip health.
Tight hip flexors are a common issue that can lead to discomfort, reduced mobility, and even lower back pain. If you’ve been feeling stiffness in your hips or lower back, it’s likely due to tightness in these muscles. One of the biggest risks associated with tight hip flexors is a potential hip flexors injury, especially if you push through the pain or neglect proper stretching techniques. To prevent injury and restore mobility, incorporating effective stretching techniques is essential.
Understanding how to stretch your hip flexors properly can make a significant difference in how your body feels and functions. When you perform targeted stretches, you elongate these muscles, which can alleviate pressure on your lower back and improve your overall movement. A common mistake is to ignore the tightness or only stretch when symptoms become severe. Instead, regular stretching acts as a proactive approach, reducing the risk of injury and maintaining flexibility. Incorporating visual and auditory cues can further enhance your ability to learn and perform these stretches correctly.
Proper stretching maintains flexibility, relieves pressure, and prevents injuries in your hip flexors.
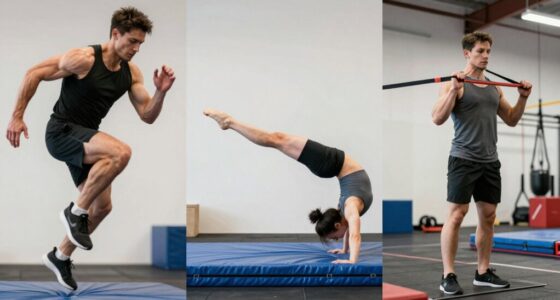
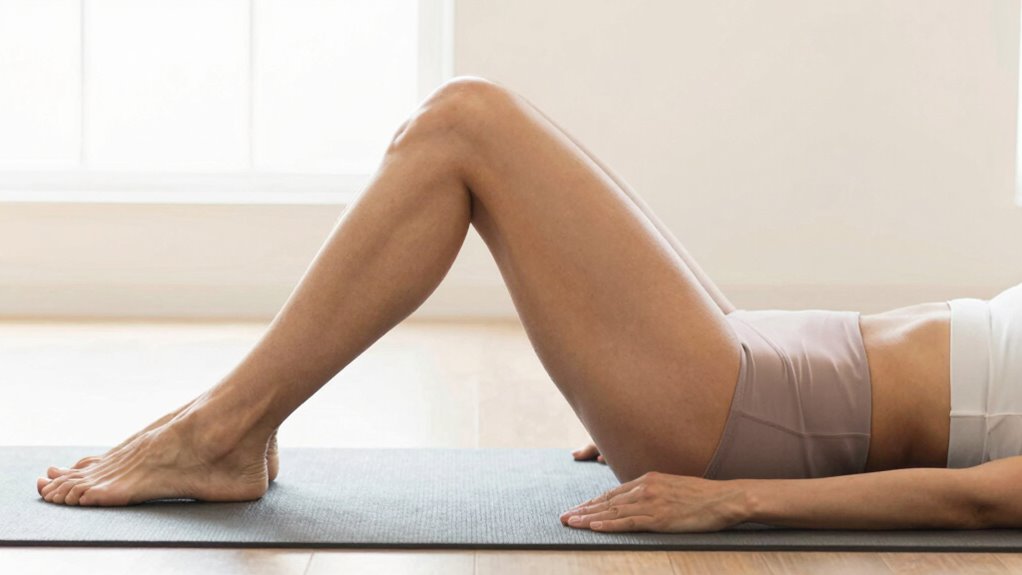
A popular and effective stretching technique involves lunging forward with one foot while keeping the back leg extended behind you. This position targets the hip flexors directly by gently pulling them into elongation. To maximize benefits, make sure to keep your hips square and engage your core as you lean slightly forward, feeling the stretch in the front of your hip. Hold this stretch for about 20-30 seconds on each side, breathing deeply to relax into the movement. Doing this consistently can improve your hip mobility and reduce tightness that might otherwise cause discomfort or injury.
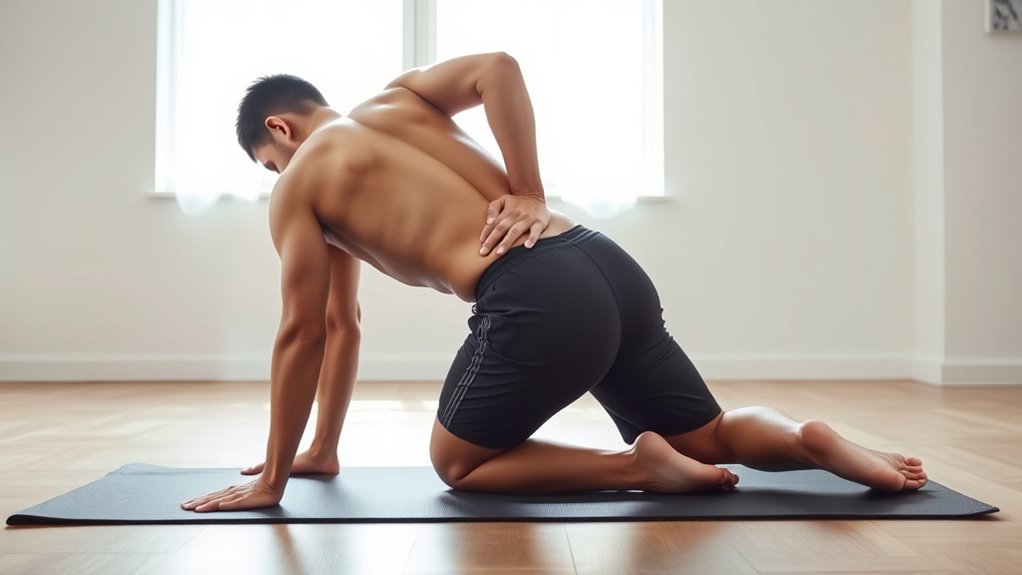
Another useful technique is the kneeling hip flexor stretch. You kneel on one knee, with the other foot planted in front, knee bent at a 90-degree angle. Push your hips forward while keeping your torso upright, feeling the stretch in the front of your thigh and hip. This stretch is simple but effective, especially for those who spend long hours sitting, which often causes the hip flexors to tighten. Remember, the key is to move slowly into the stretch, avoid bouncing, and breathe steadily to deepen the stretch gradually.
Incorporating these stretching techniques into your daily routine can make a noticeable difference. Not only do they help prevent hip flexors injury, but they also promote better posture and reduce lower back pain. Consistency is *essential*; perform these stretches at least once a day, especially after activity or prolonged sitting. Over time, you’ll notice increased flexibility, less discomfort, and a more fluid range of motion. Taking care of your hip flexors with regular stretching is a simple, effective way to keep your hips healthy and your movement unrestricted.
Top picks for "flexor tight mobility"
Open Amazon search results for this keyword.
As an affiliate, we earn on qualifying purchases.
Frequently Asked Questions
How Long Does It Take to See Results From the Mobility Sequence?
You can start noticing progress from the mobility sequence in about 2 to 4 weeks. Consistency is key, so stick with your routine and track your progress regularly. As you maintain dedication, you’ll see improvements in flexibility and hip comfort. Keep in mind that everyone’s different, but steady effort and monitoring your gains will help you stay motivated and achieve the best results over time.
Can Tight Hip Flexors Cause Lower Back Pain?
Did you know that 80% of people experience lower back pain at some point? Tight hip flexors can definitely cause this discomfort, as they pull on your pelvis and disrupt proper posture. This imbalance can lead to persistent hip pain and worsen back issues over time. Improving flexibility through targeted mobility exercises helps with posture correction, relieving tension in both your hips and lower back.
Are There Any Risks or Contraindications to This Sequence?
Yes, there are some safety precautions you should take with this sequence to prevent injury. Always listen to your body and avoid pushing into pain. Start slowly and gradually increase intensity, especially if you have existing injuries or tightness. If you experience discomfort or dizziness, stop immediately. Proper form is key for injury prevention, so consider consulting a professional if you’re unsure. These steps help guarantee safe, effective mobility gains.
How Often Should I Perform This Mobility Routine?
You should perform this mobility routine 3 to 4 times a week for ideal timing. Consistent exercise frequency helps improve flexibility and reduces tightness in your hip flexors. Aim for daily sessions if your flexibility is limited, but make sure you listen to your body to avoid overdoing it. Incorporate this routine into your regular workout schedule to see the best results over time.
Can I Do These Exercises if I Have a Hip Injury?
If you have a hip injury, it’s best to consult your healthcare provider before doing these exercises. Follow hip injury precautions and avoid any movements that cause pain or discomfort. Instead, try alternative stretches like gentle hip circles or seated hamstring stretches, which are less intensive. Always listen to your body, and if you feel any pain, stop immediately. Prioritizing safety helps make certain of proper healing and prevents further injury.
Conclusion
So, think of this mobility sequence as a gentle nudge to help your hips feel a little freer and more at ease. By embracing these simple moves, you’re giving your hips a welcoming hug, encouraging comfort and flexibility to naturally unfold. Remember, a little kindness to your body goes a long way. Keep at it, and soon you’ll notice your hips inviting you to move with a little more grace and a lot more ease.